But this urge had to be resisted (for now!)
Networking my Mega ST
First priority was to get my EtherNEC box working. The EtherNEC has been somewhat surpassed now by the NetUSBee, a neat little device that as well as an ethernet network connection gives a USB port so you can plug in a USB mouse. But, you can only work with what you have :) It seems the NetUSBee networking part uses the same drivers as EtherNEC, so it'll be the same process to set up if you have one of the newer devices.
The EtherNEC is a big black box containing an old ISA RTL8019AS ethernet card. It has a standard ethernet port on one end, and a ribbon cable extending from the side. On the end of this is an adapter that plugs into the Atari cartridge port. Thankfully it's clearly labelled so that you know which way round to plug it in.
 |
| EtherNEC - photo from http://www.atarikit.co.uk/ethernec/ethernec.html |
As I was using the PARCP-USB adapter, my strategy was to download all the files necessary, get them unzipped and into the right places and edit the required config files on my Mac, before transfer to the ST.
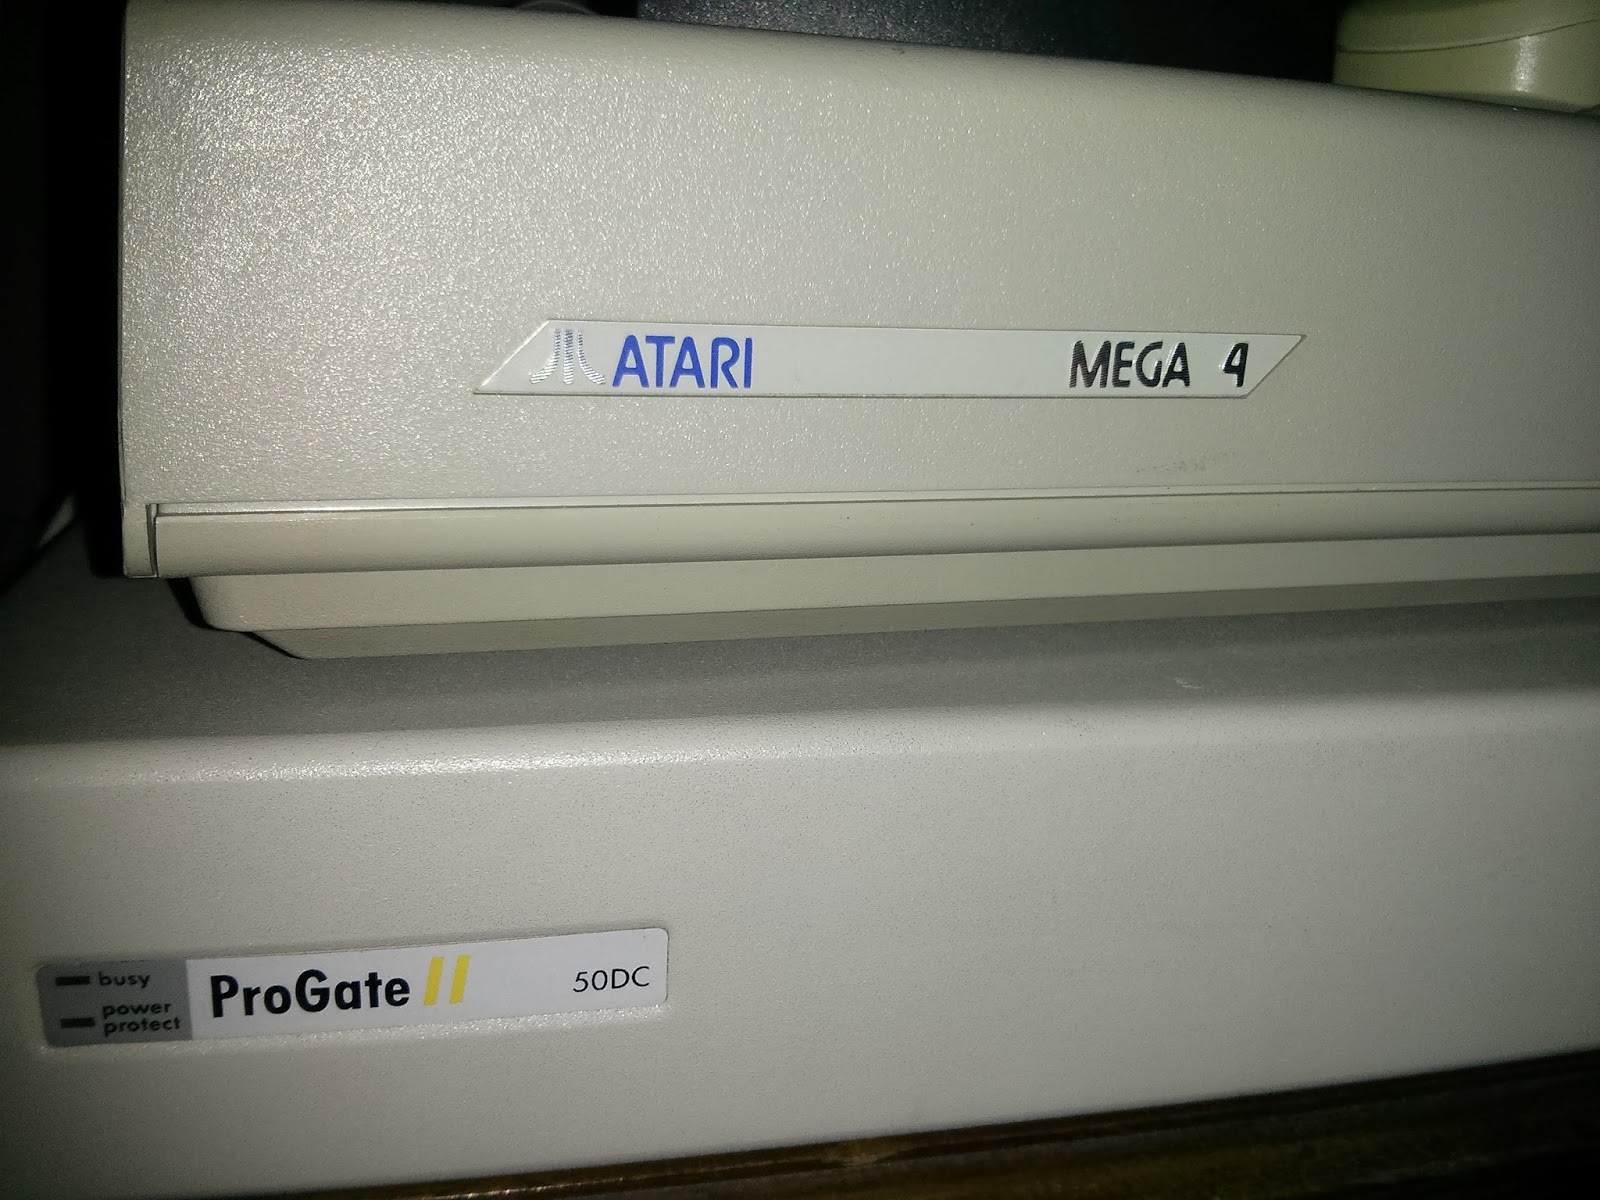
I should probably also mention that my Mega has 4Mb of RAM - if you have less you may struggle, unfortunately.
STinG
First of all, I grabbed sfl.zip from Step Two here:http://hardware.atari.org/sfl/
This is STinG, the ST networking stack. It's also available from the ST Essentials site, but the zip file above gave me just the files I needed (the full STinG package contains lots of other files which are unnecessary in this situation)
I extracted the following:
/XCONTROL.ACC
/CONTROL.INF
/AUTO/STING.PRG
/AUTO/STING.INF
/CPX/SERIAL.CPZ
/CPX/SERIAL.TXT
/CPX/STING.CPX
/CPX/STNGPORT.CPX
/CPX/STNGPROT.CPZ
/STING/CEN_PLEP.STY
/STING/CEN_PLIP.STY
/STING/DEFAULT.CFG
/STING/DIAL.INF
/STING/DIAL.RSC
/STING/DIAL.SCR
/STING/DIALER.APP
/STING/ICON.RSC
/STING/LCLTLK.STY
/STING/LOCAL.FEE
/STING/LOGIN.BAT
/STING/MASQUE.STY
/STING/MIDI.STY
/STING/RESOLVE.STX
/STING/ROUTE.TAB
/STING/SERIAL.STX
/STING/TCP.STX
/STING/UDP.STX
/STING/TOOLS/MASQLOOK.APP
/STING/TOOLS/M_MASTER.APP
/STING/TOOLS/PING.PRG
/STING/TOOLS/PING.RSC
/STING/TOOLS/SAVE_IP.GTP
/STING/TOOLS/SHUTDOWN.PRG
/STING/TOOLS/SYSINFO.TTP
/STING/TOOLS/TOOLS.TXT
/STING/TOOLS/TRACROUT.PRG
/STING/TOOLS/TRACROUT.RSC
/STING/DOCS/DIALER.TXT
/STING/DOCS/FEE.DOC
/STING/DOCS/KERN_UPD.TXT
/STING/DOCS/REM_CTRL.TXT
/STING/DOCS/RESOLVE.TXT
/STING/DOCS/SER_STX.TXT
/STING/DOCS/STING.HYP
/STING/DOCS/STING.REF
/STING/DOCS/TCP_STX.TXT
/STING/DOCS/UDP_STX.TXT
/STING/DOCS/UPDATE.TXT
EtherNEC driver
The next step was to grab the EtherNEC drivers (etherne.zip) from here:http://home.arcor.de/thomas.redelberger/prj/atari/etherne/index.htm
There are a few files here and you need to pick the right one, depending on the processor and OS used.
My system is a stock 68000 processor with TOS 1.04, so the file I needed was enec.stx and this went into the STING folder.
First up is /STING/DEFAULT.CFG
Under NAMESERVER, I changed the line to point to the IP address of my router, so:
NAMESERVER = 192.168.1.1
Everything else can stay as it is.
Next, it's /STING/ROUTE.TAB
This was the trickiest to get right. The lines to be changed are right at the bottom - all the rest is just comments.
The spaces between the IP addresses need to be tabs (only one and definitely a tab, not a space!)
I read some different opinions on what was required - some places specified two lines, but my configuration worked with only one (everything else should be commented out):
0.0.0.0 0.0.0.0 EtherNet 192.168.1.1
 Here there are two new options - 'STinG Internals' and 'STinG Port Setup'. I didn't touch STinG Internals.
'STinG Port Setup' is where the EtherNEC card is selected and the IP address of the ST set.
There are two dropdown menus at the top. The lower one should always be set to 'EtherNet'. The top one toggles between 'General' and 'Addressing'.
Under 'General' I was able to select the NE2000 hardware (the network card inside EtherNEC), and the MAC address was automatically detected and displayed.
Under addressing, I entered a static IP address and the subnet mask 255.255.255.0 The default MTU figure of 1500 worked fine for me.
It only accepts numeric IP addresses, so I tested it with 8.8.4.4, which is Google's public DNS server (and easily memorable)
It worked!
( If only it had been this quick - it took many reboots and much editing of the config files before I got to this point - you have this handy guide, so your pain will be saved :) )
Let me know if you've found this useful, or if you have any tips for networking on the ST :)
Configuration files
There are a couple of configuration files to edit. I could have used Edith or similar on the ST itself, but for quickness I used my favourite text editor, Smultron (the free, open source version) on my Mac, before transfer.First up is /STING/DEFAULT.CFG
Under NAMESERVER, I changed the line to point to the IP address of my router, so:
NAMESERVER = 192.168.1.1
Everything else can stay as it is.
Next, it's /STING/ROUTE.TAB
This was the trickiest to get right. The lines to be changed are right at the bottom - all the rest is just comments.
The spaces between the IP addresses need to be tabs (only one and definitely a tab, not a space!)
I read some different opinions on what was required - some places specified two lines, but my configuration worked with only one (everything else should be commented out):
0.0.0.0 0.0.0.0 EtherNet 192.168.1.1
The last number there is, again, the IP address of my router.
Strangely, the comments in the file say that the second set of numbers should be the netmask (in my case 255.255.255.0 but this didn't work - 0.0.0.0 did)
XControl configuration
Once those files were all copied over, I rebooted into TOS and opened up the 'Control Panel' desk accessory from the Desk menu.
'STinG Port Setup' is where the EtherNEC card is selected and the IP address of the ST set.
There are two dropdown menus at the top. The lower one should always be set to 'EtherNet'. The top one toggles between 'General' and 'Addressing'.
Under 'General' I was able to select the NE2000 hardware (the network card inside EtherNEC), and the MAC address was automatically detected and displayed.
Under addressing, I entered a static IP address and the subnet mask 255.255.255.0 The default MTU figure of 1500 worked fine for me.
Router configuration
Because of my setup I had to add the MAC address and IP address to my router's list of static IP addresses. Your Mileage May Vary :)Pinging!
A quick reboot and I was able to run PING.PRG from within the STING/TOOLS folder.It only accepts numeric IP addresses, so I tested it with 8.8.4.4, which is Google's public DNS server (and easily memorable)
It worked!
( If only it had been this quick - it took many reboots and much editing of the config files before I got to this point - you have this handy guide, so your pain will be saved :) )
Apps
This post is long enough already, so next time I'll describe a couple of the apps I've been using, now my Atari Mega is successfully connected up to the net.Let me know if you've found this useful, or if you have any tips for networking on the ST :)